
There are many ways to use and work with Git. The most basic but also feature rich way of doing so is using the command line - which this tutorial is about and I strongly advice of using.
Tools providing you with a graphical user interface like GitKraken, Sourcetree or GitHub Desktop vary in capabilities and implement only a partial subset of Git functionality. They also abstract the way you work with Git, so you often don't know what really happens under the hood.
# Install Git
The way you install Git depends on your Operating System. Visit Git's downloads page and click on your OS's link to either download an executable (Windows & Mac OS X) or get instructions how to install it (Linux & Unix) via the package manager of your distribution.
Then test your installation of Git by opening a Terminal / Command Prompt / PowerShell and type git --version. You should see something like this:
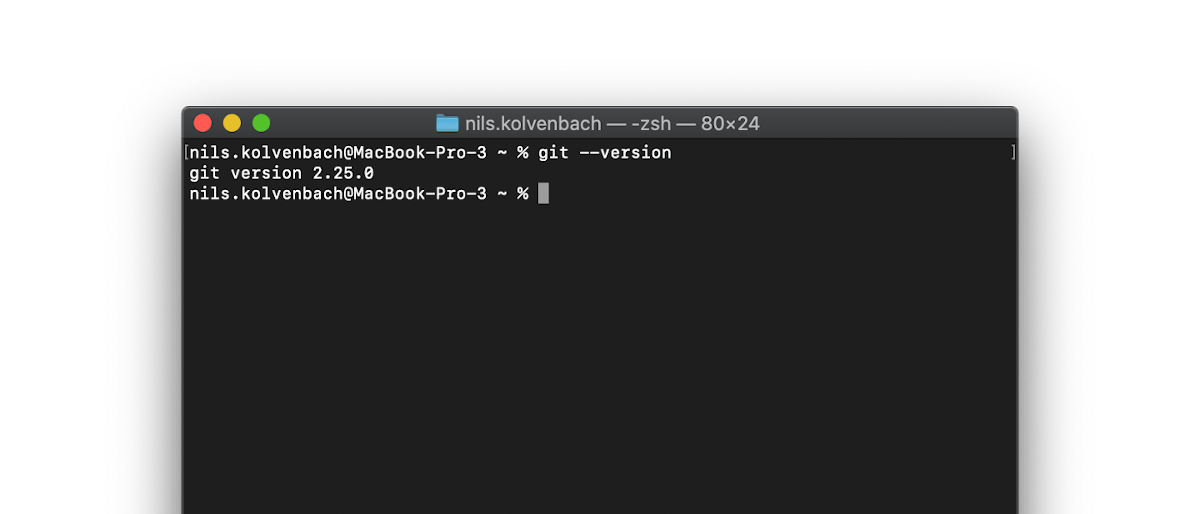
Keep that window open since we will use it throughout this tutorial.
# Configure Git locally
Git uses your name and email address to identify you and will bake this information into each and every commit. So you should start by telling Git this information right away.
Type the following two commands one by one and replace the placeholder information with yours.
git config --global user.name "John Doe"
git config --global user.email "johndoe@example.com"
2
NOTE
The --global flag will set the given information for everything you do on your system. If you later on only want to change the information for the project you are currently cd'd into, omit this flag.
# Initialize a new Git repository
Now that you have installed and configured Git on your machine, use the terminal to navigate to your desktop and create a new folder named my-first-project, which will contain all of our project files.
Then cd into that folder you've just created and initialize a Git repository by typing:
git init
Congratulations, you've just created an empty Git repository! We will use this folder and repository throughout this tutorial, so keep it.
# Make the .git folder visible in your file manager
If you now open the freshly initialized project folder with Explorer on Windows, Finder on Mac or any other file manager, chances are that you just see an empty folder without a .git folder inside.
This is because many file managers hide folders and files starting with a dot from users by default. You should enable showing hidden files and folders inside your file manager, to better understand what Git does.
Here is some help doing that:
This lesson is part of the series "Version Control with Git". Found an error? Help optimizing this lesson for other readers by submitting an issue or pull request on GitHub.